Last updated: June 26, 2020
Once you've successfully installed the HubSpot All-In-One Marketing – Forms, Popups, Live Chat WordPress plugin, you can create a chatflow and add it to your WordPress pages directly from your WordPress account.
- In your WordPress account, navigate to HubSpot > Chatflows in the left sidebar menu.
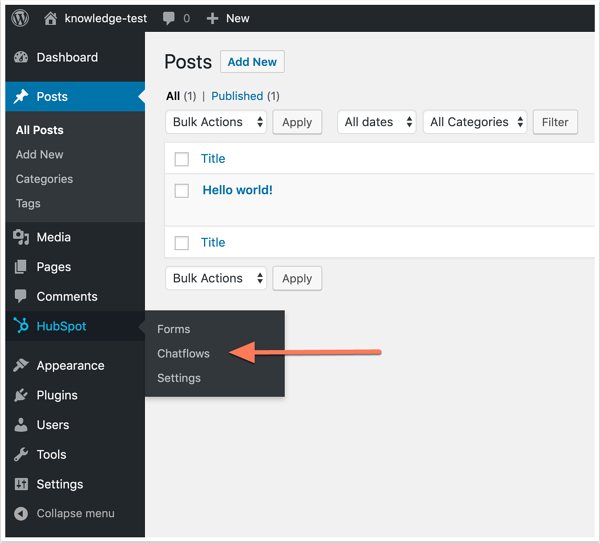
- In the upper right, click Create chatflow.
- You'll be redirected to your account's chatflow builder, where you can create a chatflow to add to your website.
- To add the chatflow to a WordPress page, you'll need to specifically target this page when setting up the chatflow:
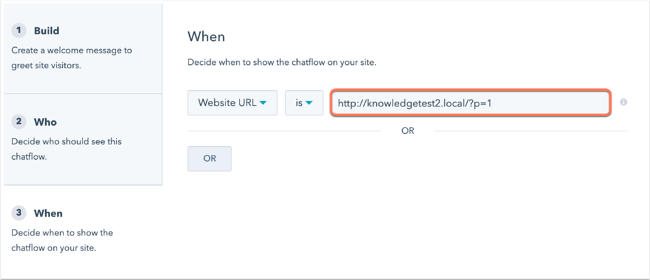
- In the chatflow builder, click the When tab.
- Click the first dropdown menu and select Website URL, then click the next dropdown menu and select is as your target criteria.
- Enter your WordPress page URL in the text field.
- Click Save.
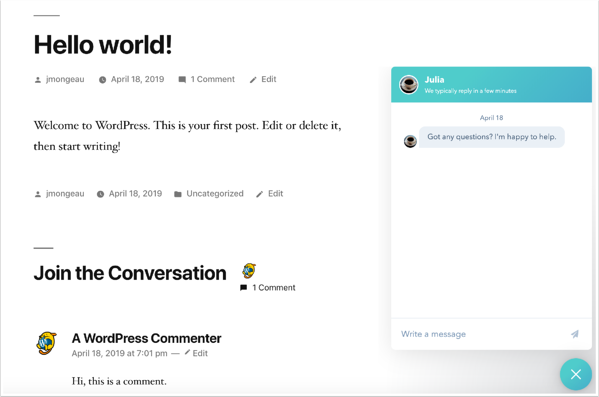
- Finish setting up your chatflow, then in the upper right, click to toggle the switch on.

- In a separate browser tab, navigate to your WordPress page. The chatflow will appear in the bottom right corner of the webpage.
To chat with your website visitors directly from the conversations inbox in your HubSpot account, check out this article: Chat with your website visitors.