Last updated: June 26, 2020
1. Navigate to your contacts
In your HubSpot account, navigate to Contacts > Contacts.

2. View a contact's properties
Choose which contact record you'd like to edit and click on their name. This will take you to their individual contact record.

Once in the contact record, locate the About card and choose View all properties.

3. Edit and save persona
From here, you'll want to locate the persona property. You can do this quickly by searching for persona in the top search bar. When you locate the property, click within the field to select a persona, then click Save.

How to add personas through imports
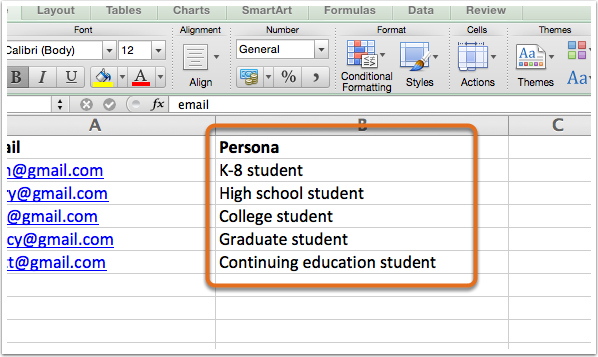
Before you begin, create a spreadsheet of your contacts with a column marked "Persona." Save this spreadsheet as a CSV (comma separated value) file. In order to be imported into HubSpot, each contact requires an email address.
This persona column should be populated with the field values that a visitor would self-select on a form, not the internal names that you have given your personas. In the example below, the CSV has the values that a student visitor would self-select, not the internal names you have given those personas.
1. Navigate to Imports
In your HubSpot account, navigate to Contacts > Contacts.

From the Contacts Dashboard, click the Import at the top.

2. Import contacts
From the Import Status Dashboard, click Start an import.

1. Navigate to Lists
First, you'll create a list of contacts who meet a particular requirement for a persona. To create a list, navigate to Contacts > Lists and select New list. For full instructions on building a list, please click here. An example of a smart list that you could make is a list of contacts whose company is bigger than 200 employees, or whose company has a revenue greater than $100,000.

2. Build your list
From here, give your list a name and then you can click the Show more info button to ensure your list is a smart list. Then begin adding your criteria. I chose Contact Property > Employees > is greater than 200. Make sure, once you've decided on your criteria, you click save list.

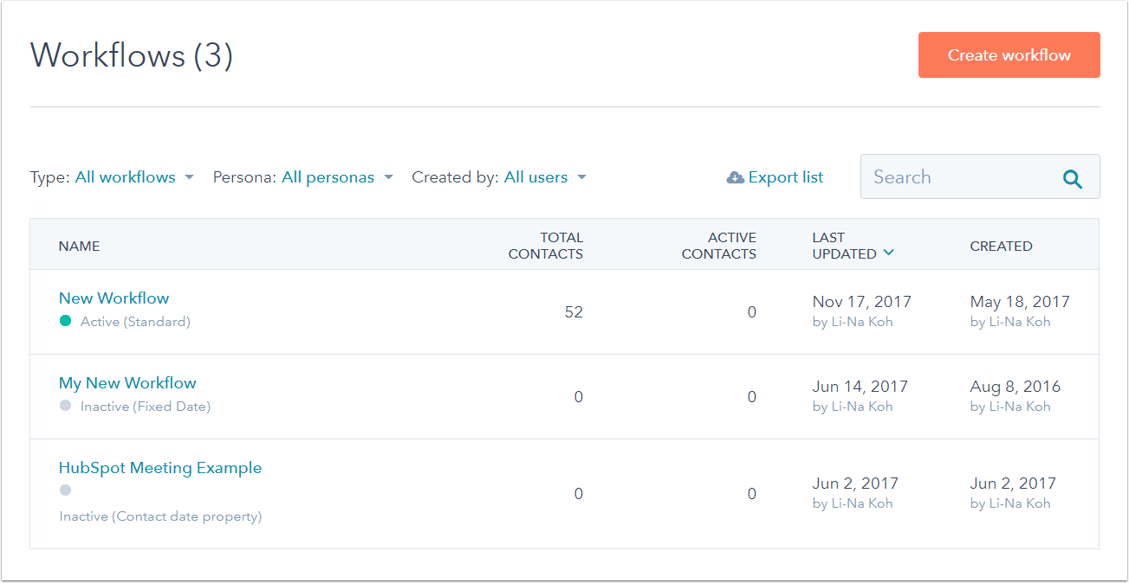
3. Create new workflow
In your HubSpot account, navigate to Automation > Workflows. Once there, click Create workflow.
4. Set persona using the workflow
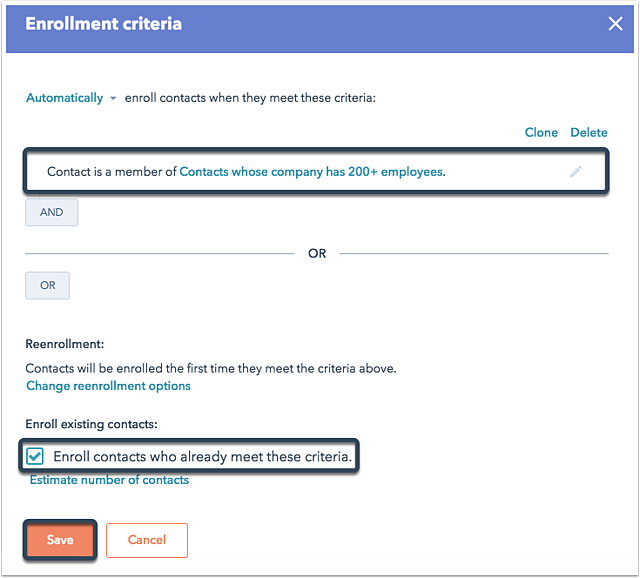
First, click Set enrollment criteria and set the workflow to enroll contacts who joined the list you created (in this example, the newly created "Contacts whose company has 200+ employees" list is used). If you would like to enroll all existing contacts that meet this criteria, be sure to check Enroll contacts who already meet these criteria, then click Save.
Click the plus (+) icon to add an action to your workflow. From the Action window, select Set contact property value. Next, select the Persona property from the Contact property drop down and select a persona from the Enter new property value dropdown. Click Save. Add additional actions as needed.

5. Activate workflow
Once you've added any additional actions if needed, click Review in the top right corner. Review your workflow settings and click Activate to turn on your workflow.